



















TL;DR
- Check the tent’s actually leaking before you treat it. It’s often condensation, especially in a full tent overnight.
- Three areas need attention: the fly, the seams and the floor. The floor is the one most often overlooked, even though it takes just as much wear as the fly or seams.
- Match your seam sealer to your fabric. Urethane and silicone coatings need different sealers, and getting this wrong is why seals fail.
- Reproofing and seam sealing need real curing time, up to 24 hours. Start at least a week before a festival or family trip, not the night before.
- A well kept tent might not need full treatment every year. Check the fabric’s condition first, rather than working to a fixed calendar.
Most advice online about waterproofing a tent reads the same: clean it, spray it, seal the seams, done. What’s missing is any sense of when to start, and whether the full job’s even needed.
This guide covers the three areas that matter (fly, seams, floor), how to tell a leak from ordinary condensation, and a timeline for getting ready before a festival, a family trip or a first night under canvas.
Check before you start: is your tent actually leaking?
Water on the inside doesn’t always mean a leak. A genuine leak usually shows as a defined patch, often near a seam, a peg point or the groundsheet edge. Condensation forms as an even film across the inner wall, especially overnight in a full tent. Water can also travel along the fabric before dripping, so a wet patch might sit some distance from the actual problem.
When a coating fails, the fabric can “wet out”, sitting wet in the weave instead of beading off, which can feel like condensation even when it isn’t. A brand new tent can leak too, so it’s worth running the hose test before you rely on it.
Leak or condensation?
| Sign | More likely a leak | More likely condensation |
|---|---|---|
| Location | Pooling at seams, pegs or the groundsheet edge | Even film across the whole inner wall |
| Timing | During or straight after rain | Builds overnight, worse with more people inside |
| Fabric feel | Coating tacky, patchy or flaking | Fabric fine, just damp on the surface |
| Fix | Reproof, reseal or recoat | Improve ventilation, open vents fully |
If you’re unsure, a hose over one section for a few minutes, checked from inside, settles it: water that gets through under a garden hose will get through in real rain.
What your tent’s waterproof rating already tells you
Most tents carry a hydrostatic head rating, a number in millimetres such as 2000mm, measured under a standardised water pressure test (BS EN 20811) and describing the pressure the fabric withstands before it leaks. Higher numbers mean more resistance, which matters more for a groundsheet than a flysheet.
There’s no single agreed figure for what counts as “enough” in UK conditions. 2000mm is generally considered fine for a family flysheet, with a higher figure worth having on a groundsheet. More useful than picking a number: stitching creates thousands of needle holes, so even a high rating still leaks at the seams if they aren’t sealed. The rating describes the material, not the tent as a whole.
What you’ll need to waterproof a tent yourself
You don’t need much, but getting the products matched to your fabric matters more than the brand you buy.
- A mild, non-detergent cleaner and a soft sponge, for washing without stripping the coating
- A seam sealer matched to your fabric: urethane based for polyurethane coated nylon or polyester, silicone based for silnylon or silpoly
- A DWR (durable water repellent) spray or wash-in treatment, to restore the fly’s finish
- A separate floor reproofing treatment, since floor coatings differ from the fly’s DWR finish
- Isopropyl alcohol or a similar solvent, for cleaning seams before sealing
Getting the sealer wrong is a common mistake. Silicone sealer won’t bond to urethane coated fabric, and the reverse is just as true, so check the care label before buying.
Step 1: clean the tent properly
Dirt, sap and grime stop any treatment bonding properly, so skipping this step undermines everything that follows.
Pitch the tent, or lay the fly flat, and hand wash with a soft sponge and mild cleaner. Never use a washing machine or tumble dryer: the heat and agitation can damage the coating. While you’re at it, check the tent pitches taut, since a loose pitch lets water pool rather than shed.
Step 2: reproof the fly with DWR
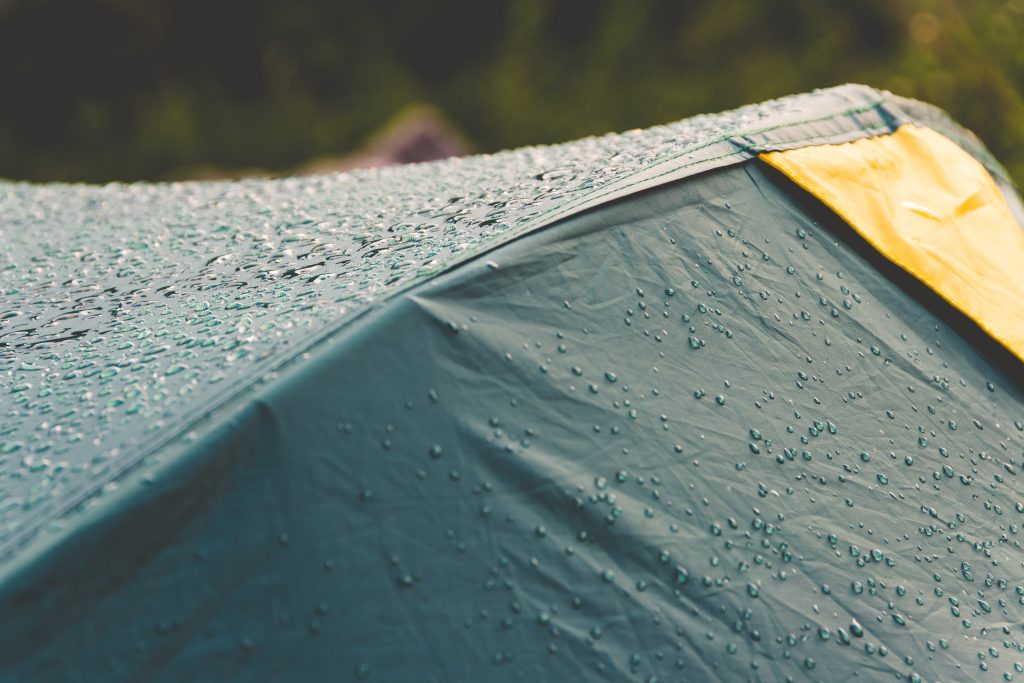
The flysheet’s outer coating makes water bead and roll off rather than soak in. Over time, UV exposure and general wear break this down, which is what most people mean when they say a tent “isn’t waterproof anymore”.
Applying DWR spray or wash-in treatment
Clean and dry the fly first. Spray-on treatments go on in light, even coats, section by section. Wash-in treatments are added by hand alongside cleaning the fly, rather than applied section by section like a spray. Either way, match the product to your fabric type.
Reproofing has limits, though. On a tent several years old with real UV exposure, the fabric itself can be degraded, not just the coating, and reproofing won’t reverse that. A tent that keeps failing however carefully it’s treated is reaching the end of its working life, not evidence the job was done wrong.
Drying and cure time
This is the step people rush. Drying and curing can take anywhere from a few hours to a full day or more depending on the product, and rushing it is the easiest way to undo the work. Treat it as a planning constraint, not something to squeeze in the night before a trip.
Step 3: seal the seams
Stitching is where plenty of real world leaks actually start, regardless of what the fabric’s own rating says.
Sealing seams so they actually last
- Clean the seam area with isopropyl alcohol or a similar solvent, and let it dry completely.
- Mask off anything nearby you don’t want sealant on, like zips or mesh panels.
- Apply a thin, even line of sealer matched to your fabric type, working along the coated side of the seam, usually the inside.
- Leave it to cure fully before packing the tent away. Rushing this step is the most common reason a fresh seal fails early.
Testing once cured
Once fully cured, run the hose test again over the sealed seams specifically. Trusting the label without checking is how people find out a seam’s failed halfway through a wet weekend, rather than at home with time to fix it.
Step 4: waterproof the tent floor and groundsheet
The floor takes constant pressure from bodies, kit and ground moisture, so it needs the same attention as the fly and seams.
Checking for pinholes and re-coating the floor
Hold the floor to daylight, or use a torch underneath, and look for small points of light: these are pinholes, easy to miss on a dark groundsheet. Patch them with repair tape, seam seal the floor’s stitched seams the same way as the main seams, then apply a floor specific reproofing treatment. Use a product made for groundsheets rather than the fly spray.
Where you pitch, and sizing a footprint
Where you pitch is a free fix: avoid dips, hollows or visibly compacted ground where water collects. If you use a separate footprint, size it to sit just inside the tent’s floor edge, not overhanging, or it channels rain straight underneath instead of shedding it.
How often you actually need to waterproof a tent
The honest answer is that it depends, and treating this as a fixed annual chore isn’t quite right. A tent used occasionally and stored properly might go several years without needing full treatment. One pitched regularly in wet conditions, or packed away damp more than once, will need it sooner.
As a general guideline, most tents benefit from reproofing somewhere between one and three years, but checking the fabric beats working to a calendar. The simplest time to check is before your first trip of the season, when there’s no departure date putting pressure on cure times. Splash a little water on the flysheet: beading off means the coating’s still working, soaking in means it’s time to treat it.
Storage matters more than most people expect. Packing a tent away damp, even briefly, lets moisture sit against the coating and break it down through a process called hydrolysis. Drying a tent fully before it goes back in its bag does more for its lifespan than another round of reproofing.
When reproofing has done all it can
Sometimes there’s nothing more to do: a coating that won’t hold despite proper care has simply reached the end of its working life. If that’s the case, it’s worth browsing the tents and shelters range rather than patching things up again.
Getting your tent ready before a festival or family trip
“A few days before you go” is the usual advice, which isn’t much use when curing times are the whole constraint. Here’s what that actually means in practice.
Check first whether the tent needs the full sequence at all. If it’s newer, was stored dry and still beads water when tested, a quick clean and seam check may be all it needs. If it’s showing real wear, work backwards from your departure date using the timeline below.
| When | What to do | Why this timing |
|---|---|---|
| More than a week before | Full clean, DWR reproofing, seam sealing if needed | These need the longest cure time, sometimes 24 hours or more, plus a buffer for redoing a coat |
| Three to four days before | Floor treatment and pinhole repairs | Floor coatings generally cure faster, but still need a full dry day |
| The day before, or on arrival | A final hose test only, no new treatment | Nothing applied now has time to cure, so this stage is about checking, not fixing |
A family trip with the car outside gives more room to dry a flysheet properly. A festival, packed the week before into a flat or small garden, is tighter on time and space, which is exactly why starting early matters more, not less. Checking the forecast on the Met Office site helps pick a properly dry window.
Does a canvas or bell tent need different treatment?
Slightly, yes. Canvas is naturally water resistant once “weathered in”: the fibres swell when wet and tighten the weave, so a new canvas tent is often better hosed down and left to weather than sprayed straight away. It breathes more than synthetic fabric, but dries slower and can mildew if packed away damp.
Most family and festival tents sold today are nylon or polyester, which is what this guide is written for. With canvas or a bell tent, the same clean, seal and reproof principles apply, but products and drying times differ, so check the guidance that came with the tent.
Frequently Asked Questions
Look at the shape of the water rather than the amount. Condensation forms an even film across the whole inner wall and is worse with more people inside overnight. A leak shows up as a defined patch, usually near a seam, a peg point or the groundsheet edge, and appears during or straight after rain.
Run the hose test at home first. Water beading and rolling off means it’s probably fine for now; water soaking in or a damp patch appearing inside means it’s worth treating. Do this several days before you go, not the night before, since drying and curing both take real time.
It’s the water pressure the fabric can withstand before it leaks, measured in millimetres. The groundsheet needs a higher figure than the flysheet, and the number describes the material rather than the whole tent, since stitched seams can still let water through no matter how high the rating is.
Longer than a single evening. Cleaning, reproofing and seam sealing each need their own curing time, adding up to several days with a buffer. Start at least a week before you need the tent for the full sequence.
To an extent, yes. On a newer tent, a thorough hand wash plus proper seam sealing covers a surprising amount of ground, since seams are where most real world leaks start. If the fly itself has stopped beading water, though, there’s no substitute for reproofing it.
Yes. Not every tent is factory treated before sale, so a leak on a first trip doesn’t necessarily mean anything’s wrong with it. Worth doing the hose test even on kit straight out of the packaging.
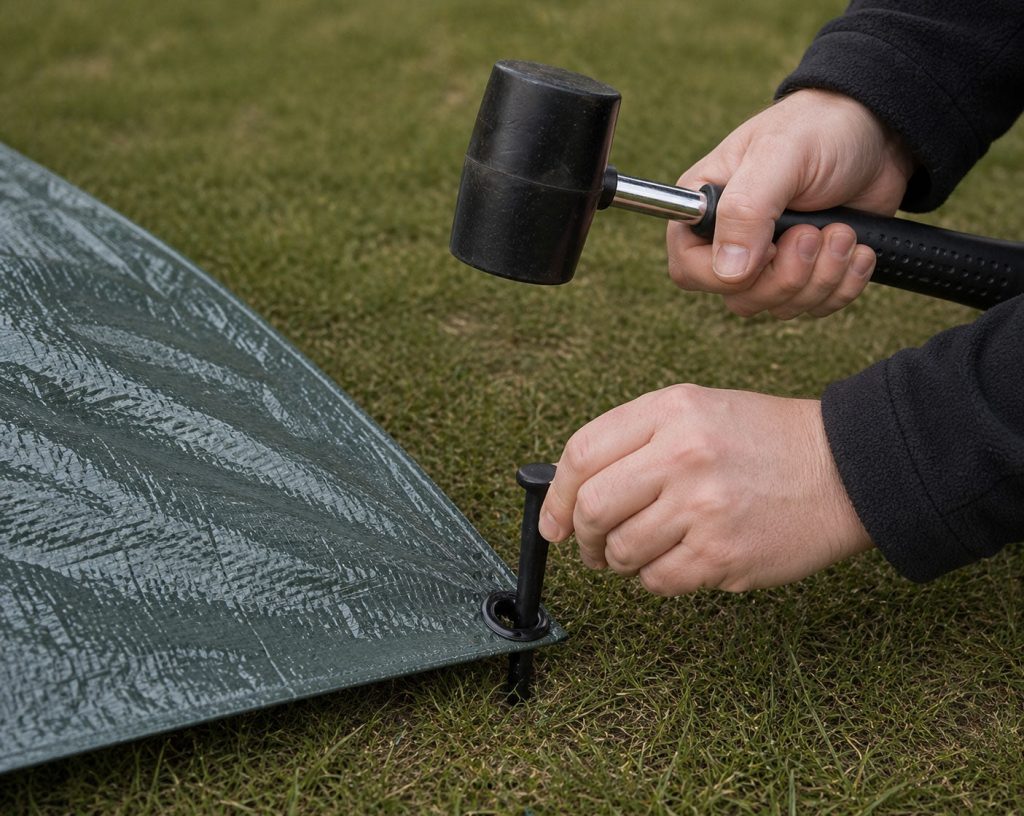
For the kit itself, the outdoor tools range covers pegs, mallets and repair tape. And if this is the tent’s first proper test in the rain, a waterproof poncho is a sensible backup while it dries out.